Learning about the world through wireless sensor networks.
Due to the need for large-area coverage of in-situ soil moisture sensors, wireless network technologies are needed to command the sensors and to transmit the collected data to the base of operations. There are many factors that make this a very challenging problem for our application, including the need for a sparse but extensive network, outdoors and possibly harsh environments, the need for extreme energy efficiency, and availability of data network infrastructure for transmission from field to operations based.
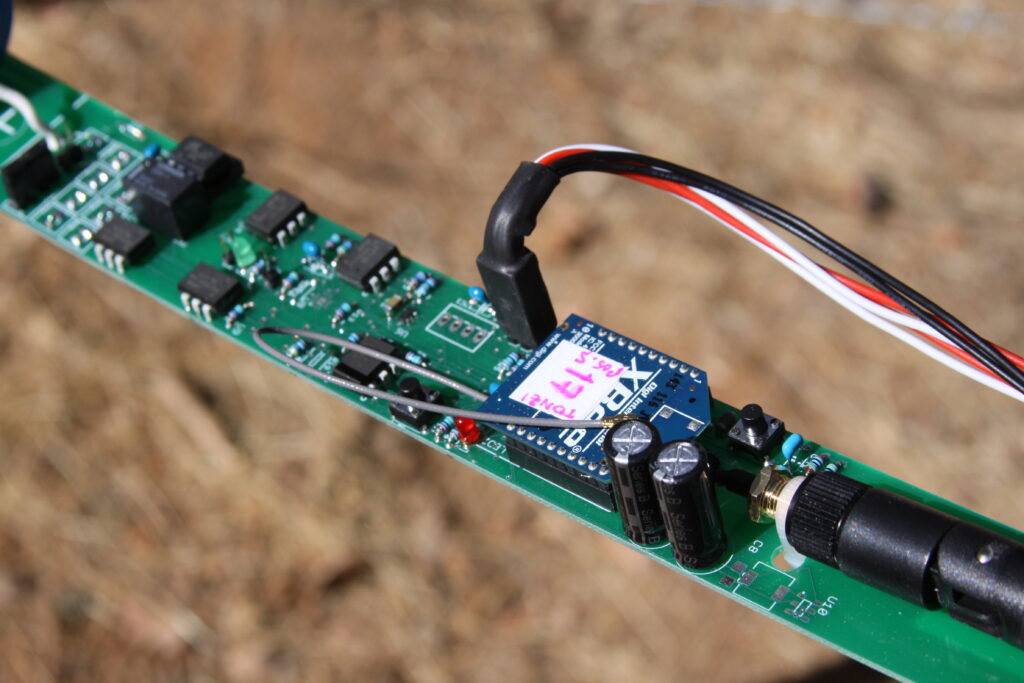
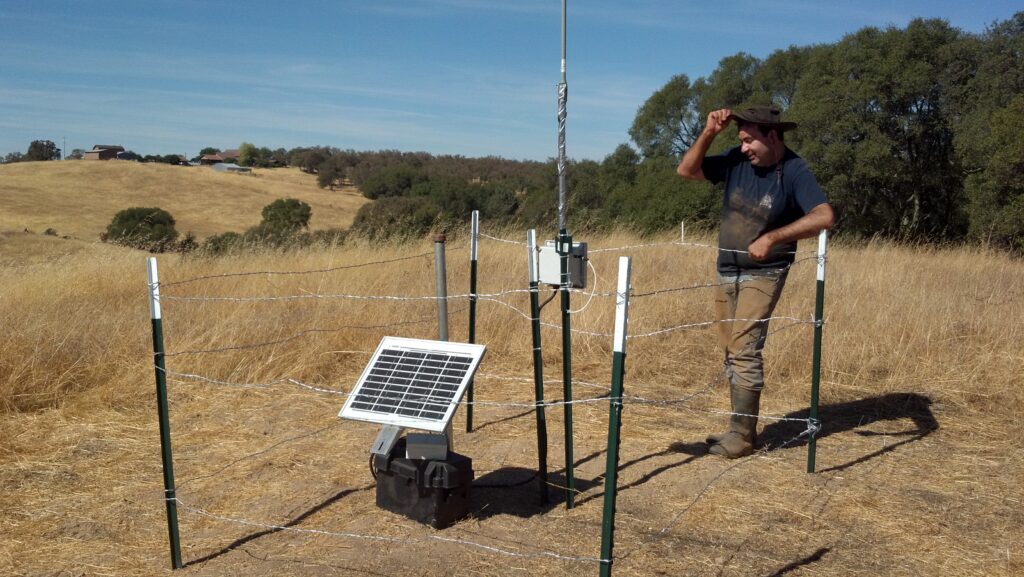
The wireless sensor architecture developed for this project is Ripple, it has undergone a number of improvement throughout the project, the current iteration is Ripple 2D+. Each sensor communicates with a local coordinator which sends information back to the data server. Each node is connected to three EC-5 soil moisture sensors (from Decagon Devices) at different depths. With the newer installations (Tonzi and New Hogan) sensors are installed at 5, 12 and 50 cm. However, due to the hard soil and rocks it is often not possible to drill down to 50 cm, in these instances the sensor is installed as deep as possible and the depth is recorded.
Deployment
The installation of wireless sensors follows a standard procedure developed so the nodes can be efficiently and consistently deployed.
- Dig a vertical hole 50 cm deep using a combination of a gas-powered auger, manual auger and shovel. Seperate piles are created for each layer of soil to retain the profile. Whilst every effort is made to reach the target of 50 cm, this is not always possible in hard soils or when a rock layer is encountered. In such environments 40 cm is considered a reasonable depth due to the considerable time and effort required to continue to 50 cm.
- Drill 3 horizontal holes for the sensors, placed at depths of 50 (or however deep it was possible to drill), 20 and 5 cm. For hard soils the use of a drill minimises damage to the sensors, although sometimes leaves gaps producing inaccurate measurements until the soil compacts to fill these. For softer soils, pushing the sensors in minimises air gaps.
- Replace the soil, in the order it was removed and compact.
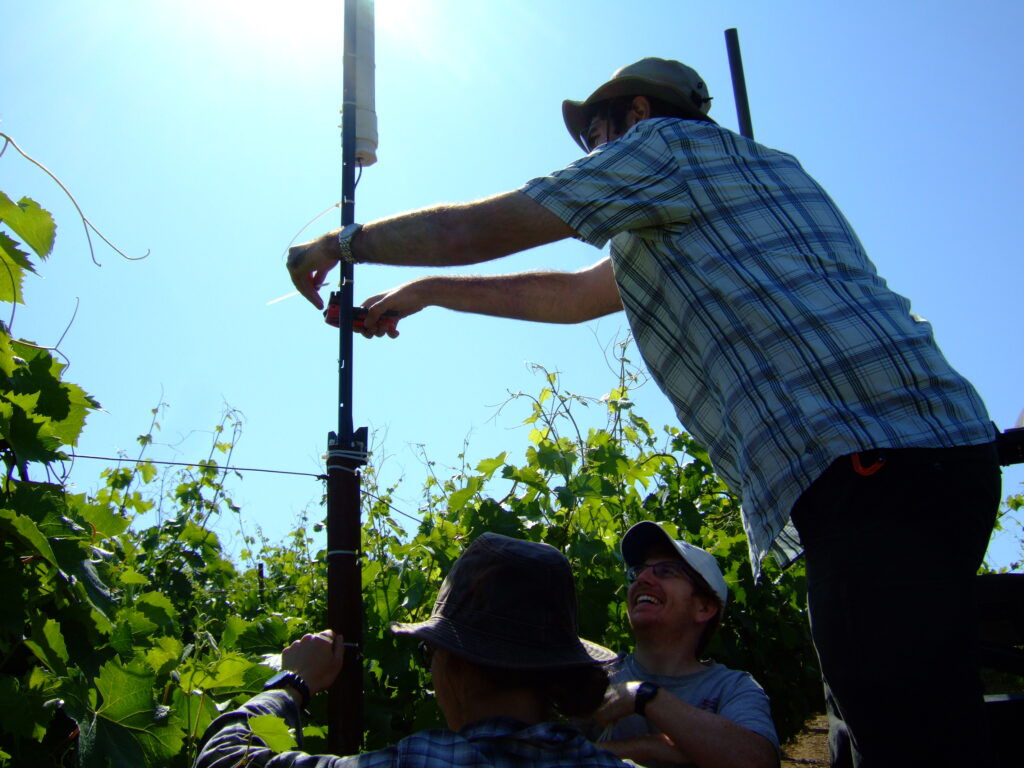
- Hammer in a t-post to hold the sensor node.
- Attach the node to the sensors and fasten to the t-post.
- If cattle graze on the land a barbed wire fence is installed to prevent damage to the node or wires